We are officially one week away from my farmhouse bathroom reveal. If you missed my first post, I’m participating in a challenge with fellow bloggers this month, hosted by Erin of Lemons, Lavender & Laundry. The challenge is to completely makeover a room for only $100.
I can’t wait to share my final bathroom reveal with you all next week. I’ll also be giving you a detailed breakdown on how much $$ I spent on each item. Here are some projects I have been working on the last few weeks for my bathroom makeover:
Flooring:
Everything about my previous flooring was just terrible from the color, to the pattern, and everything in between! My first step to changing my floor was to figuring out how to do it on the cheap. I researched a lot of ways to update my linoleum flooring and came across several low cost options like: painting the floor, glueing pennies to the floor, etc. Ultimately, I went the route of peel and stick vinyl tile. I was able to find a pattern I really loved for the farmhouse bathroom style I’m going for. Check out that before and after pic below! Just wait until you see the final end result next week!


Decor:
I’ve been known to spend way too much money on decor, like that one time I spent $75 on a dinky cotton wreath (sorry husband!). I knew if I wanted to stay within my $100 budget for this challenge – then, I’d have to really get creative and look hard for good deals. For this challenge, I definitely wanted to change my bright silver towel ring, toilet paper holder, and towel rack in my bathroom. I went to my local thrift store and found a hook ($1) attached to wood that I envisioned as being the perfect hand towel holder to replace my towel ring. The next day, I found a 3 pack of hooks from Burlington ($6.99) that were close to a perfect match to my thrift store hook! I didn’t love the color of the wood so, I was able to use some black and brown acrylic paint to update all 4 of the board/hooks. For my toilet paper holder, I bought some Krylon spray paint in the color metallic dark copper and spray painted it! No more bright cheap silver in my bathroom! Woo hoo!
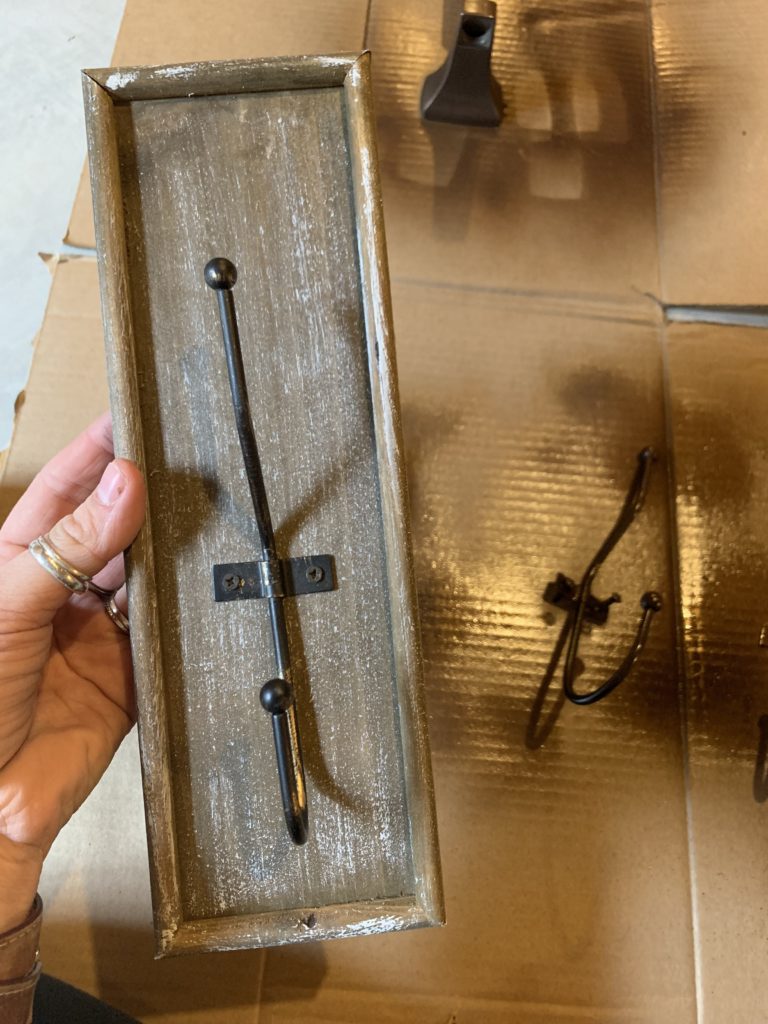
here is what the boards looked like before I painted them.
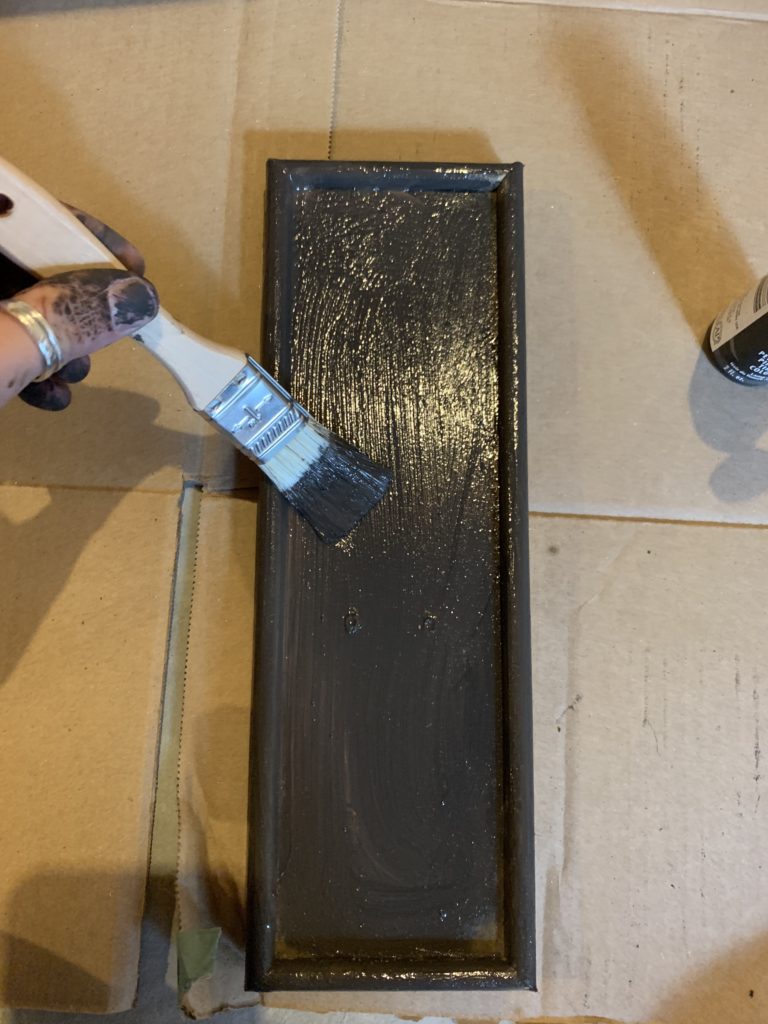
I unscrewed the hooks and then I mixed a black and a brown acrylic paint together + brushed it on.
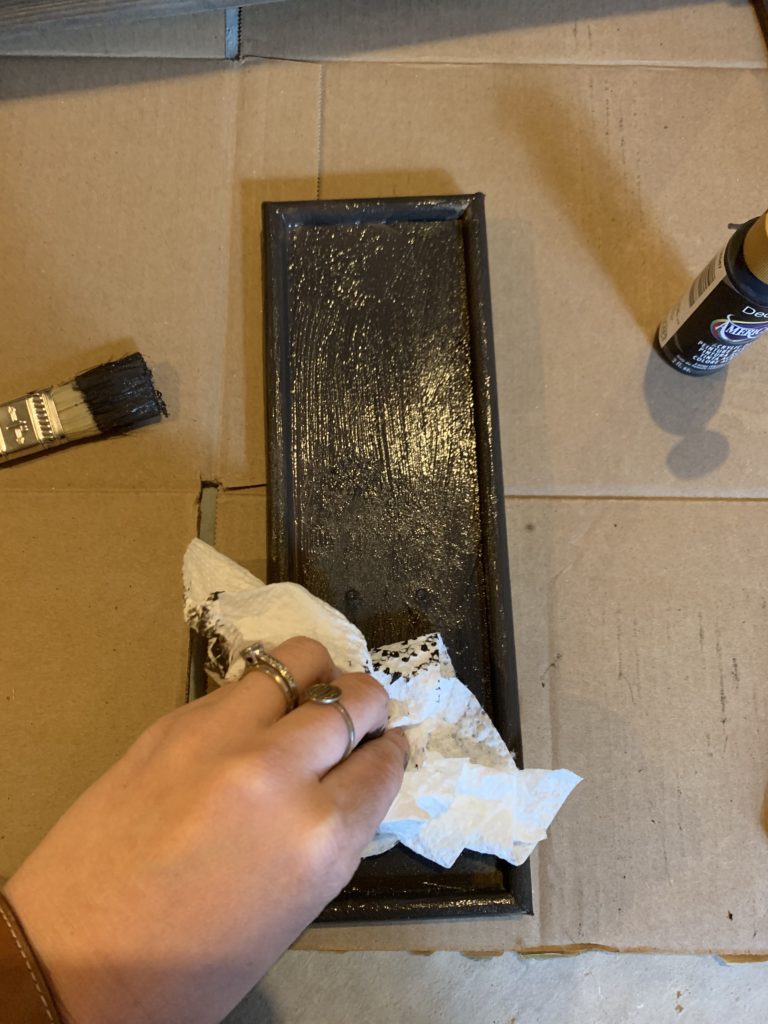
next, I took a paper towel and wiped off all of the excess paint.
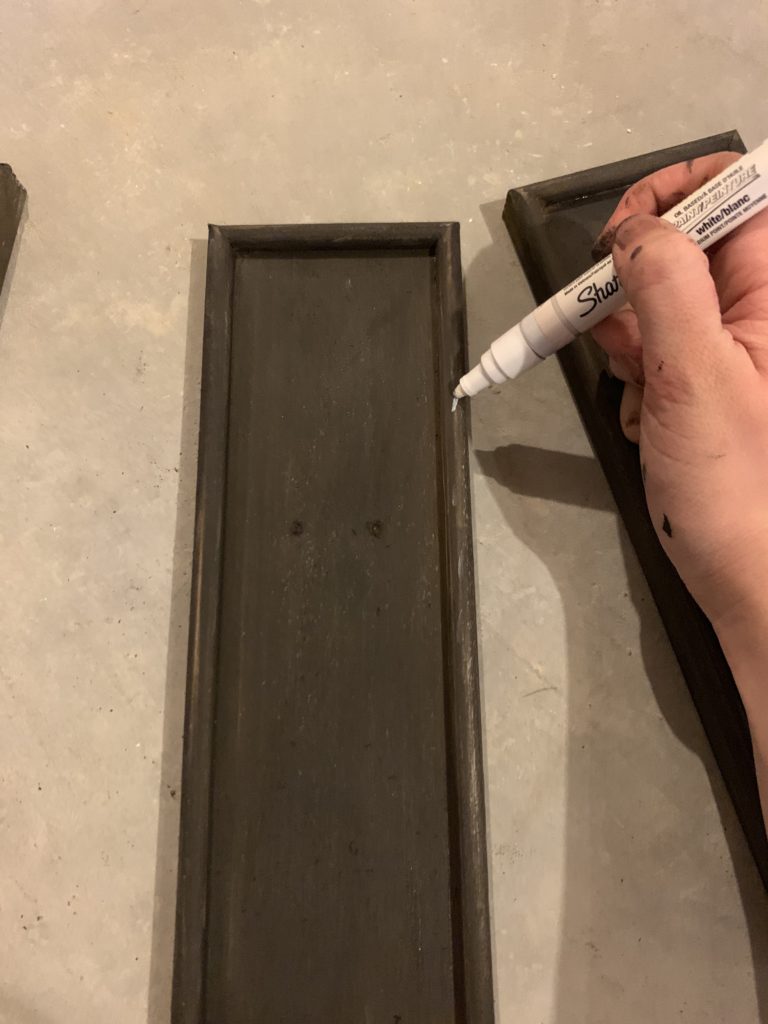
when the paint dried, I used a white paint pen and a gold paint pen to add dimension.
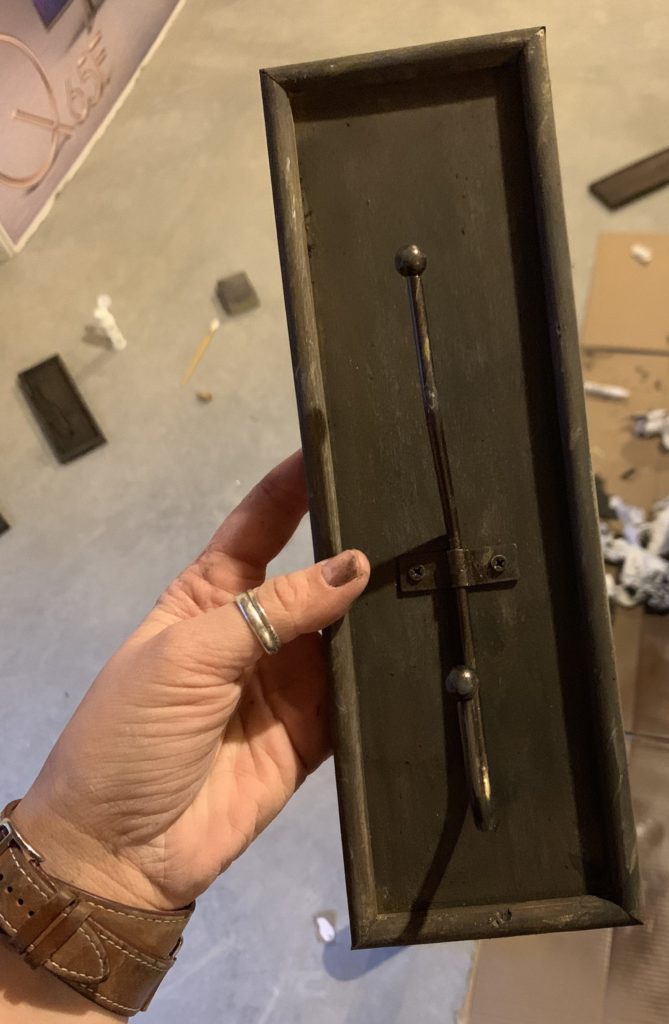
I sanded random areas on the board, screwed back on the hooks, and this is the final result!
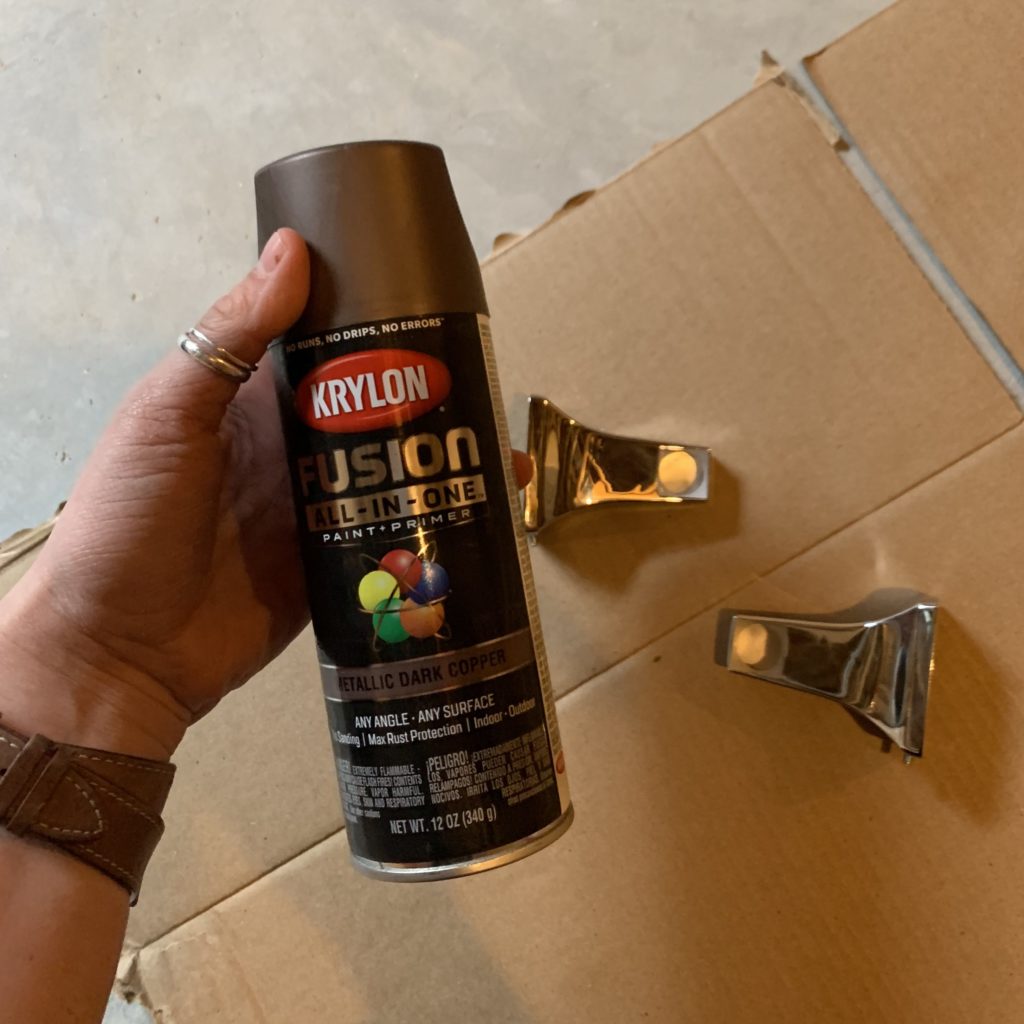
this spray paint was amazing! there was no prep work required before spraying. 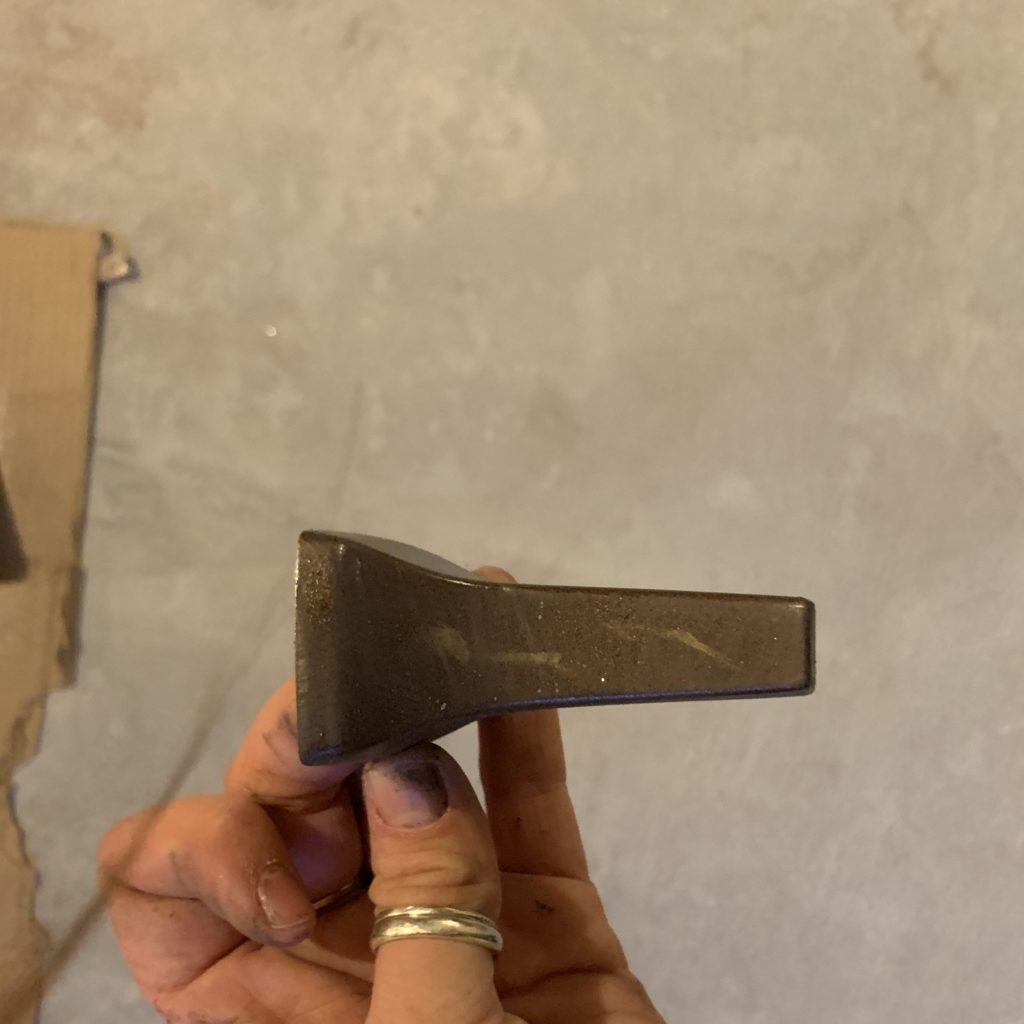
after the spray paint dried, I used the gold paint pen again to give it a distressed look
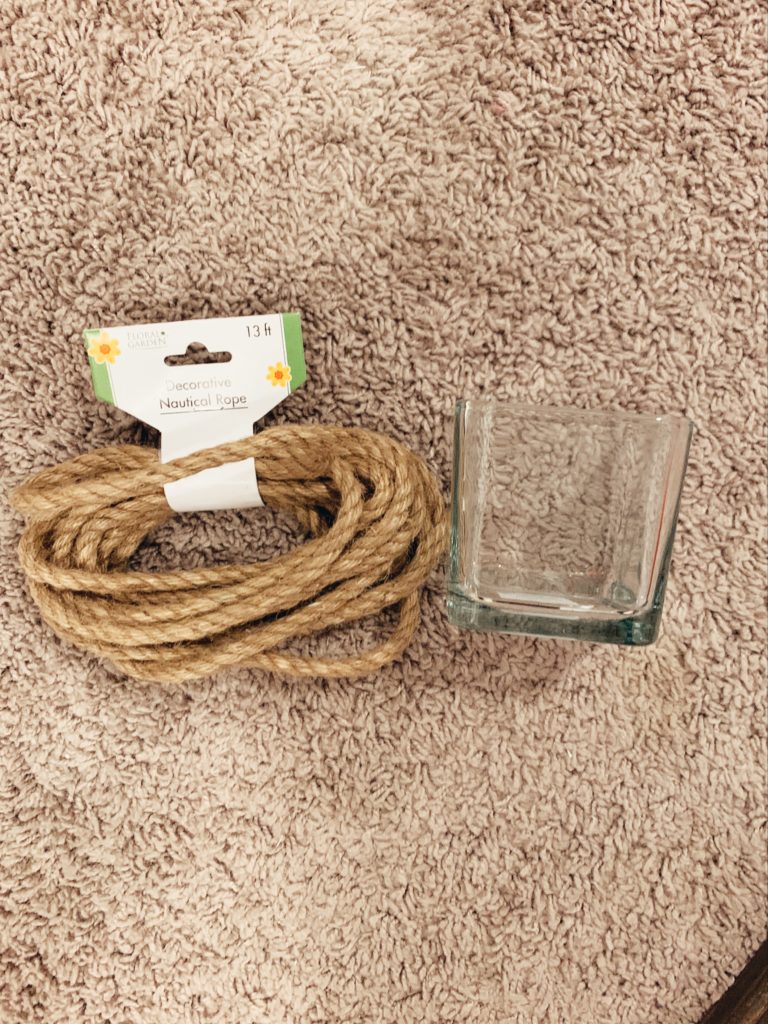
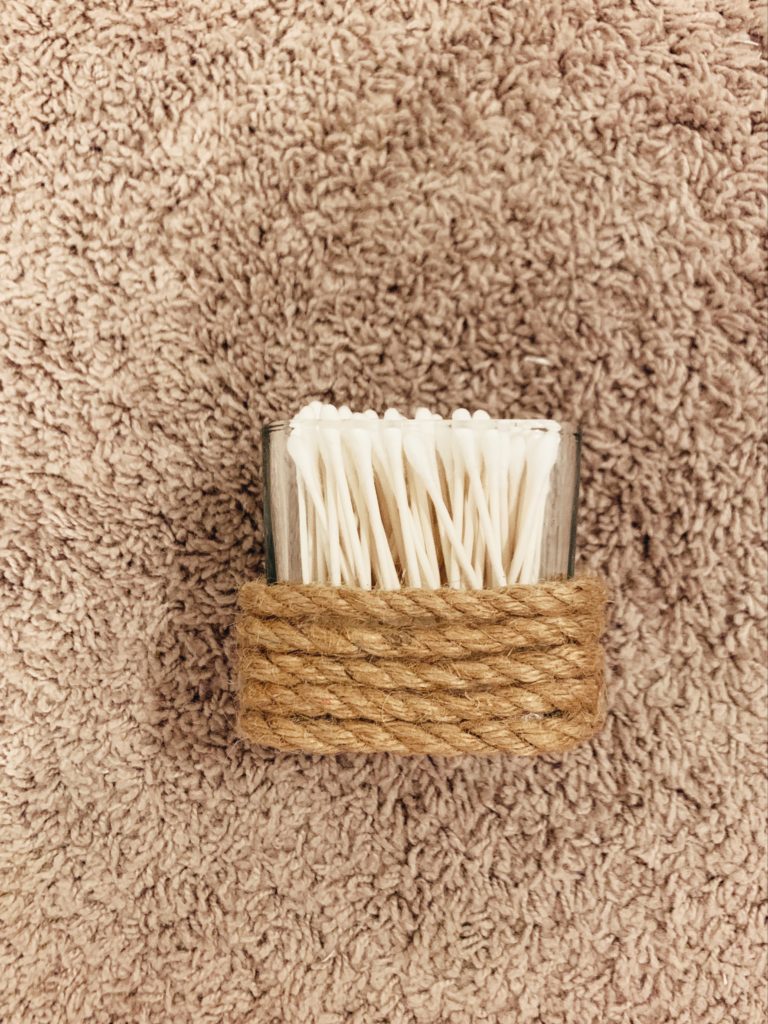
The last decor item I’m going to share today is from the… Dollar Store! I bought the glass and rope for a whopping $2. I hot glued the rope onto the glass and then filled it with q-tips. It will be a perfect item to put on one of my shelves above the toilet!
Stay tuned next week for my final reveal — subscribe to my blog to be the first to see it! Before you go, check out some of my fellow bloggers progress below on this $100 room challenge!


Beautiful details. Excited to see the whole room makeover!
Thank you! Can’t wait to share the rest of the space.
Can’t wait to see the final result. You are very creative! Well done! I love it!
When you’re on a budget you are forced to get creative. Haha!
Brilliant! And the paint job is so good not to mention the costs. Just awesome
Yes! Anything to save some money. It worked out so great that I already had the acrylic paint on hand!
The hooks turned out awesome! At first I thought there starting point was fine. But the paint literally adds volume and makes it look very antique. I think the deeper contrast from the flooring will liven up the room. Great work!
Thank you! I was so nervous to paint them because I didn’t want to ruin them but I’m so glad with how they turned out!
I cannot wait to see the final reveal! I love how unique that flooring looks. Wonderful job!
Yay! I’m so excited to share the reveal!
Lexington it is really looking great. The peel and stick tiles work really well we have done done before in previous bathrooms and loved the over all look and what a great find on those hooks! Great job!
Thank you for being the one to inspire me to participate in this challenge Jen!
I looooove my vinyl floors, and a year later I can attest to their holding up against water, dog claws, furniture moving, etc. Yours look super cute and I hope you are able to love them for a long time!
And I feel ya on spending too much on decor lol. My weakness are rugs.
Thank you so much! That’s so great to hear that they hold up so well! What do you use to clean yours? I read not to use any harsh cleaner!
The new floor looks really nice. And that glass rope is such a clever DIY.
Thank you!! I’m so happy with how the floor turning out too!
The new floor looks great! I can’t wait to see the finished bathroom!
Thanks Tracy! Can’t wait for my final reveal next week!
I love the floor- super stylish! I can’t wait to see how it all turns out!
Thanks Beth! Stay tuned for next week! XO
I love the new floor. Great choice!
Thank you!! Can’t believe how cheap it was!
We are looking at peel and stick tile for our laundry room later this year. Do you like it so far? I know it hasn’t been super long haha
I actually did it right when this challenge started — I’ve had it placed since the start of January! It is so fabulous. We haven’t had any issues whatsoever! I would totally recommend it. I read a lot of reviews online before I installed it and all the reviews state how durable this flooring is!
Love the vinyl tiles! I’ve been looking at various sources too, can you share where these are from? Thank you!!
Hi April! Of course. I got these at my local Lowe’s. Here’s the link if you want to check the exact ones I got: https://www.lowes.com/pd/Armstrong-Flooring-Terraza-1-Piece-12-in-x-12-in-Harbor-Gray-Peel-and-Stick-Vinyl-Tile/1000549185
Let me know if you have anymore q’s! XO
That floor looks AMAZING!!! And yay for all your budget-friendly decor finds! I did not realize they sold that rope at the dollar store (mental note to pick some up when I’m there next time 🙂 Can’t wait to see that reveal!
Thanks Erin! This has been such a fun challenge. And of course I had to scope out the dollar store for supplies!
Awesome article post.
Looking forward to reading more. Great blog.
Quick question… getting ready to use these in my bathroom and I have the same layout as yours! Did you start the tiling from the bath tub and go to the door or did you start the tile from the door and work your way to the tub??? I’m not sure when cutting the tile if esthetically it would look better with the tile cut at the tub or door. Thank you!
Hi Lauren!! I started from the door and worked my way to the tub! Good luck!! I’m excited for your new tile!